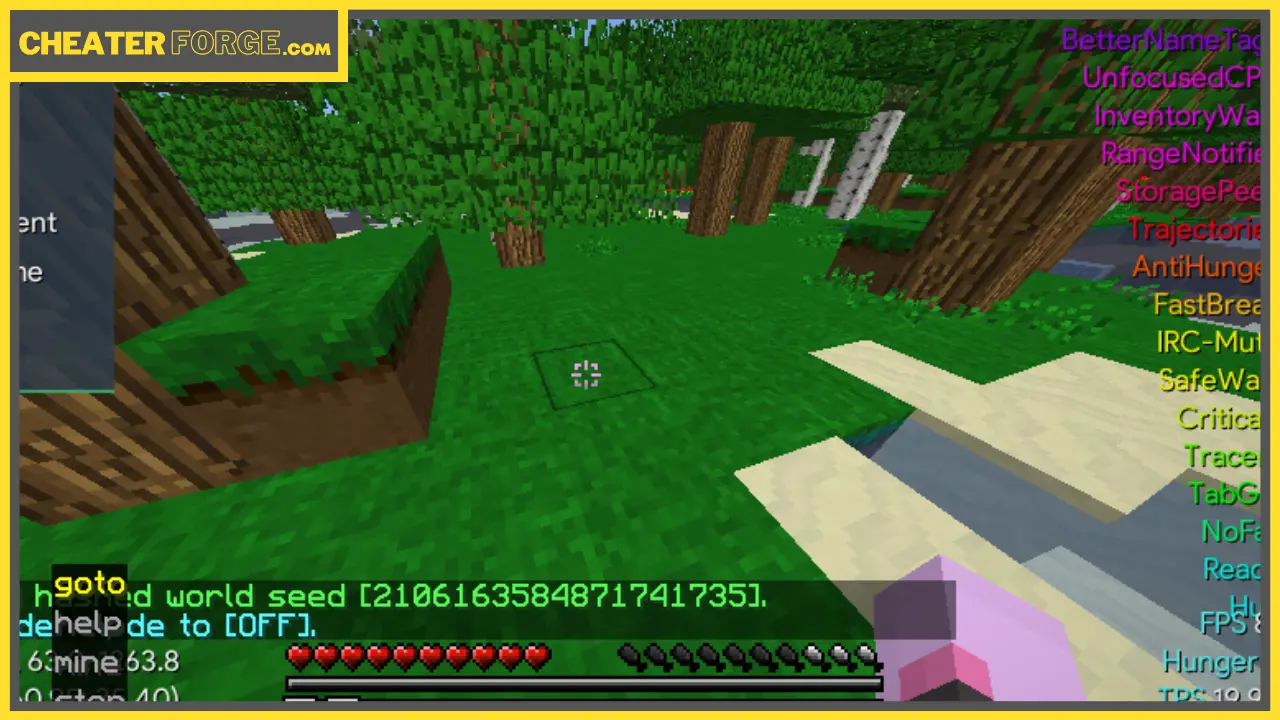
Minecraft is a game that many people enjoy playing, and some people want to hack it.
Nowadays, there are a large number of Minecraft hacked clients from 1.19 all the way to the latest release.
In this Minecraft Java Edition guide, we will go over how to install a Minecraft hacked client and will be using the “Hazuni Dev 15” client for the sake of example while guiding you through the process.
Step 1: Download The Client

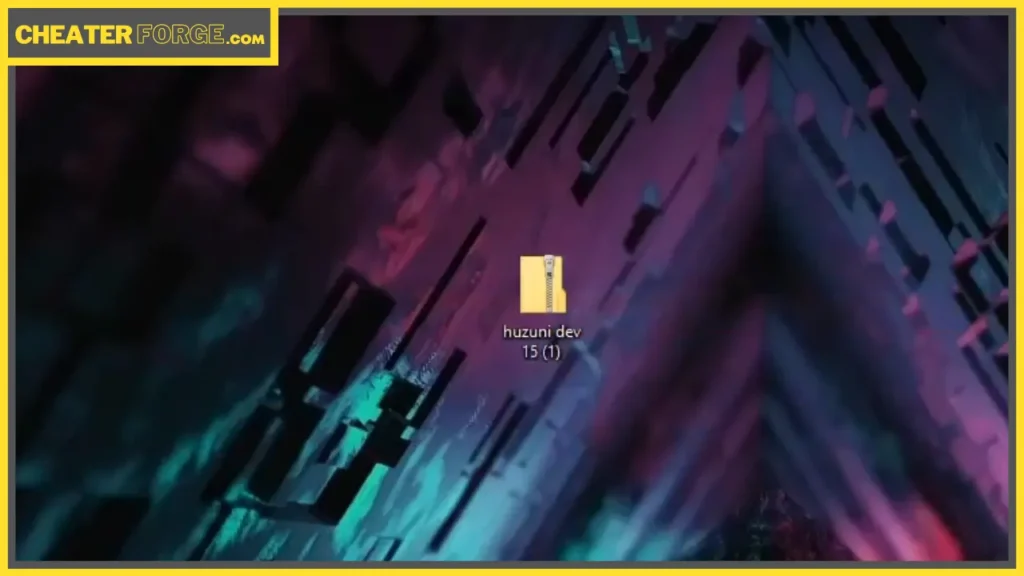
To begin with, you need to download the file for the Minecraft hack client you want to use; once you have the file, it will automatically download a .zip file. Drag it to your desktop, then extract the files to your desktop and open them to check what files are in there. You should always run it through Virus Total to check it for fake stuff.
Step 2: Open Your .Minecraft Folder
Next, you need to your desktop’s search bar (located in the bottom-left on Windows 10). You need to type “run” to open up the run app.

Type %appdata%/.Minecraft/ to bring you to your .Minecraft folders. Find your versions folder and double-click it. Scroll down and drag the folder you just extracted from the zip into here.
Related | Best Minecraft Bedrock Hack Clients (Safe Download Guide)
Step 3: Open the Minecraft Launcher Installations
After you have done that, open the Minecraft launcher. Go to the installations and hit new. You can name it whatever you want and change the icon to whatever you want. Leave the game directory default and navigate to versions. Scroll down until you see “Release Hazuni” and create that.

Once you have created the “Release Hazuni” version, go back to play, and you should find Hazuni right there. You can hit play and start hacking.
In conclusion, installing a Minecraft hacked client isn’t that difficult if you follow these steps. Remember to always be careful when downloading files from the internet, as they could be dangerous. Happy hacking!
Related | Civilization VI: Cheat Engine Tutorial


